How to crochet a bag
Crocheting offers endless creative possibilities, and bags are among the most popular projects! Practical, aesthetic, ecological, crochet bags can adapt to any style: from beach totes to mini-handbags. You can play with colours, stitches, sizes... and personalise them infinitely.
In this article, discover step-by-step how to crochet a bag, whether you're a beginner or more experienced. We'll guide you from choosing the yarn to crafting the handles, including the technical basics for a perfect finish.
Why crochet a bag?
To create a unique accessory, reflecting your personality
To reduce your consumption of plastic or leather
Because it's a motivating and useful project
Because it's a lovely idea for a handmade gift
Because crochet bags are trendy
Depending on the shape and size chosen, your bag can be used daily, in summer, for shopping, or as an elegant purse for an evening. It's a project that combines pleasure and practicality.
Necessary materials
Before you start, here’s what you’ll need:
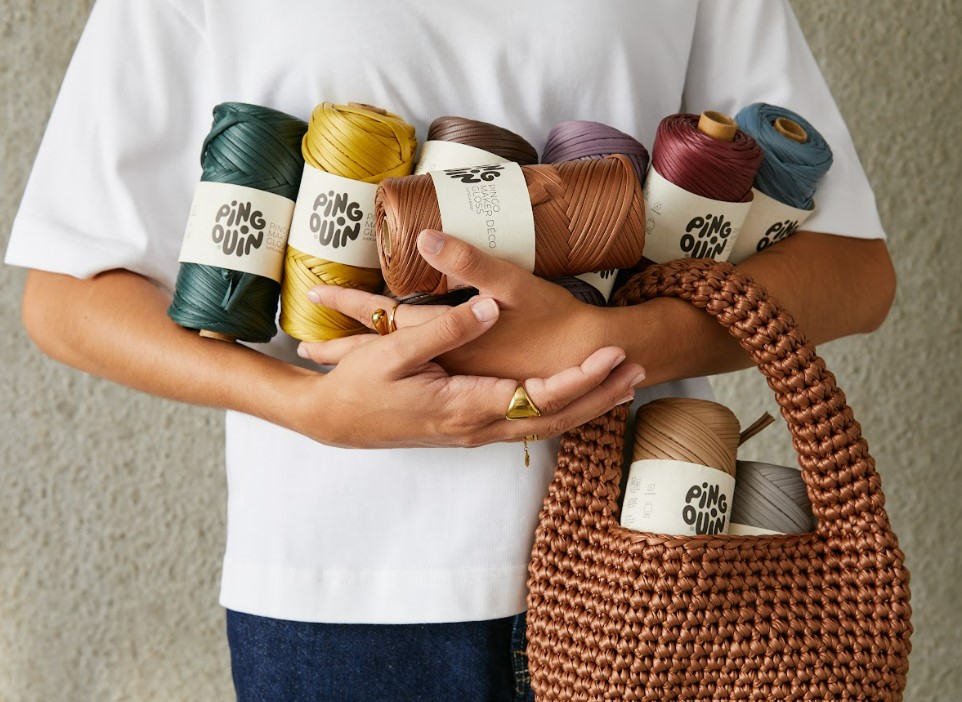
One or two balls of wool or sturdy yarn (thick cotton, raffia, t-shirt yarn...)
An crochet hook appropriate for your yarn size
A needle to weave in ends
A pair of scissors
Optional: fabric lining, button, zipper, wooden or leather handles
💡 For a sturdy bag, choose a thick yarn like cotton cord or t-shirt yarn, which provides good durability. You can also add a fabric lining for extra strength.
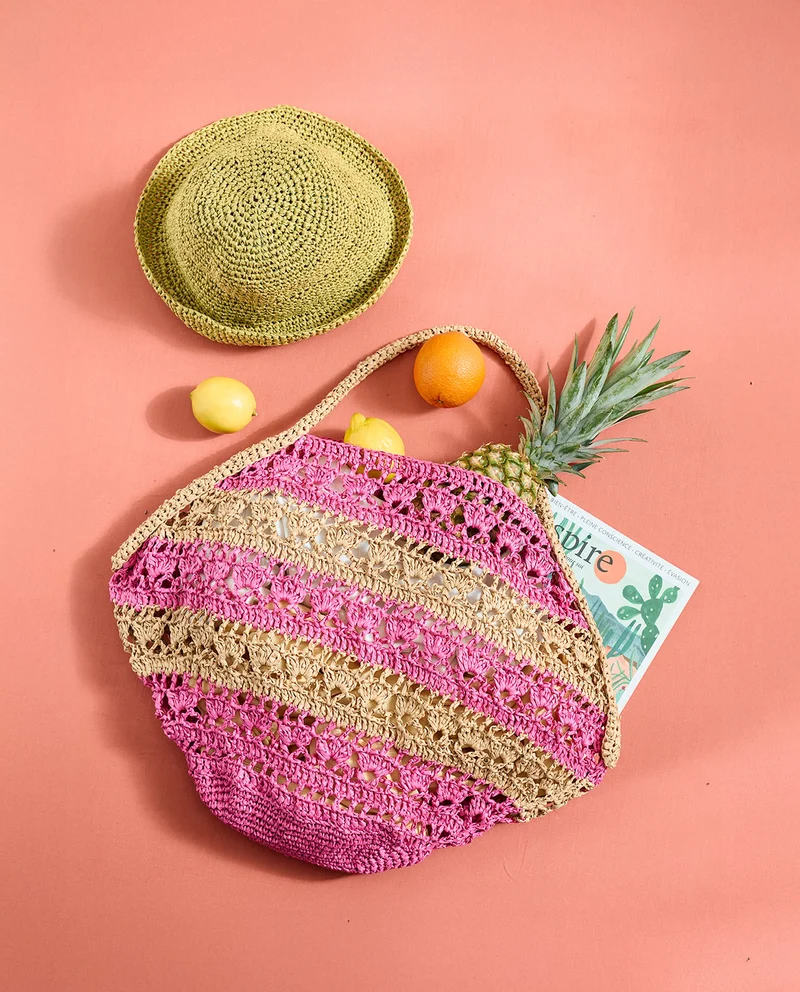
Which shape to choose?
There are dozens of models. Here are some ideas:
Bag shapeCharacteristicMesh bagLight, stretchy, ideal for shoppingRectangular toteSimple to make, very usefulRound bagBohemian trend, a bit more technicalClutchMinimalist, perfect for beginnersBackpackRequires a solid baseFringed bagFor a festival or hippie style
The ideal stitch for a bag
Single crochet stitches are most commonly used for their solidity and density. They prevent objects from passing through.
But you can also use:
Half-double crochet or double crochet if you add a lining
Moss stitch for texture
Star stitch for an elegant effect
Tutorial: rectangular crochet bag (beginner level)
Step 1: the base
Crochet a chain of the desired width (e.g., 35 chain stitches).
Then work in single crochet on each row until you reach a height of about 30 cm. This will form the front of your bag.
Step 2: the back
Crochet a second identical piece or create a single piece folded in half.
Step 3: join the edges
Place the two pieces on top of each other and sew the sides and bottom with crochet (slip stitches) or with a needle. Leave the top open.
Step 4: create the handles
You can crochet two strips in single crochet (4 stitches wide by 35 cm) and sew them to the bag, or use ready-made handles.
Step 5: finishing touches
Weave in the ends, add a lining if desired, a snap button, a zipper, or even embroidery.
Tips for customising your bag
Change colours halfway through your work for a striped effect
Add a flap or an original closure
Crochet a spiral handle for a stylish look
Add beads or sequins for a whimsical touch
Use cotton yarn for a soft and natural look
You can also line it with coloured or plain fabric to reinforce it and make it more chic.
Bonus projects for advanced crocheters
Spiral round bag
Backpack with drawstring
Bohemian fringed bag
Beaded mini-bag for evenings
Bag with granny square motif
If you are proficient in the basics, you can try more elaborate bags that combine complex stitches and original shapes.
Usage ideas
Beach bag
Work bag
Zero waste tote bag
Snack bag for children
Evening pouch
Crochet belt bag
The possibilities are endless. You can even recycle your crochet bag as a storage basket or eco-friendly gift pouch!
Summary
Crocheting a bag is an opportunity to combine creativity and utility. With a bit of yarn, a crochet hook, and patience, you can make a unique, handmade accessory perfectly suited to your needs. Whether you start with a simple tote or a more technical bag, this project is always rewarding. So, grab your hook — and let your style speak!